How to Start Aquascaping Your First Planted Tank
8 min read · 2026-11-02
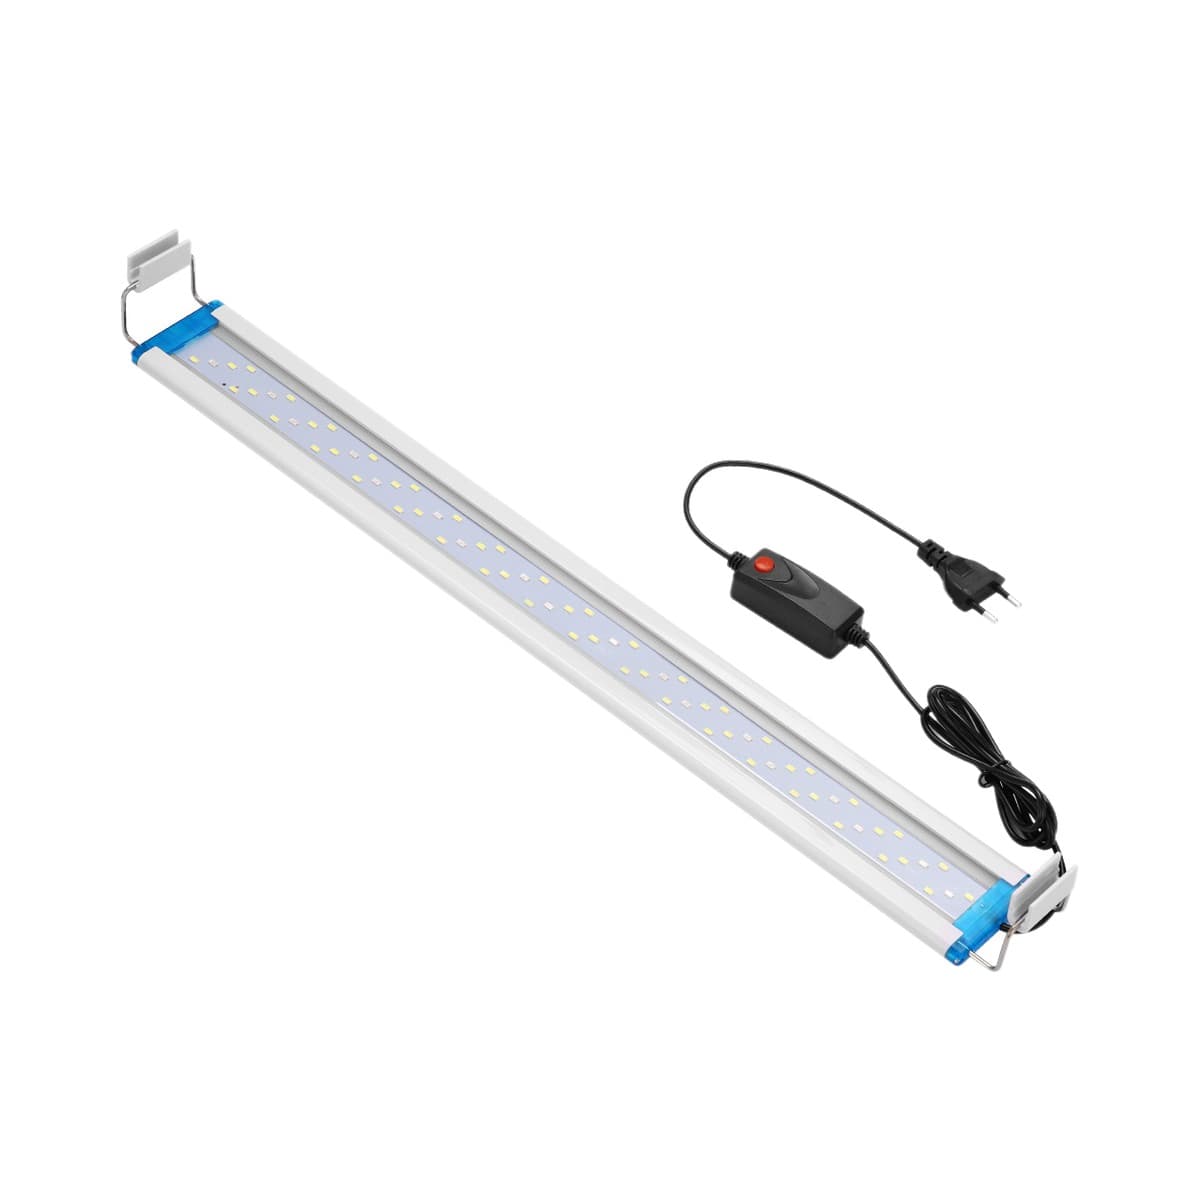
The gear this guide is about
Planted Starter Bundle — Light, Tools, Test Kit
$97
Starting an aquascape means committing to a living art form, not just setting up a fish tank. It demands attention to design, specific equipment, and consistent care to create a thriving underwater landscape.
You need to plan your layout, select appropriate plants and hardscape, and invest in the right gear from the start. Otherwise, you'll be fighting constant battles with poor plant growth and algae.
What Exactly is Aquascaping?
Aquascaping is the craft of arranging aquatic plants, rocks, driftwood, and substrate within an aquarium to create an aesthetically pleasing underwater garden. It's more than just putting plants in a tank; it's about creating a landscape, a miniature world with depth, balance, and visual flow.
The goal is to evoke a sense of nature, often mirroring terrestrial landscapes like mountains, forests, or valleys. This means careful consideration of every element, from the shape of a rock to the color and texture of a plant leaf.
A standard planted tank focuses on growing plants. An aquascape focuses on using those plants and other elements to compose an artistic scene. The standards for plant health, density, and trim are higher in aquascaping. It requires more precise control over light, CO2, and nutrients.
Planning Your Aquascape Design
The biggest mistake beginners make is skipping the planning stage. Don't just buy plants and hardscape on impulse. Your aquascape needs a blueprint.
Start with a concept. Do you want a dense jungle, a rocky mountain range, or an open valley? Research different aquascaping styles like Iwagumi (rock-focused), Dutch (plant-focused), or Nature Aquarium (mimicking natural landscapes). For a first attempt, pick one style and keep it simple.
Sketch Your Layout
Grab paper and pencil. Draw your tank from different angles. This helps you visualize the placement of hardscape, rocks and driftwood, which forms the skeleton of your aquascape. These elements create structure and focal points.
- Hardscape First: Rocks and wood define the primary lines and mass of your design. Position them to create depth and interest. Avoid placing things dead center; use principles like the rule of thirds to create more dynamic compositions.
- Focal Points: Every good aquascape has one or two strong focal points. These could be a striking piece of driftwood, a cluster of unique rocks, or a vibrant patch of plants. Guide the viewer's eye.
- Negative Space: Don't fill every inch. Open areas of substrate or clear water create breathing room and enhance the impact of your hardscape and plants.
- Depth and Perspective: Use varying heights of hardscape and plants. Taller elements at the back, shorter ones at the front. Create slopes in your substrate to give the illusion of distance.
Once you have a sketch you like, gather your hardscape. Arrange it dry in the tank, or even on a table the same dimensions as your tank, to refine the composition before adding water or substrate.
Essential Gear for Aquascaping
Aquascaping isn't a cheap hobby if you want results. You need specialized equipment to grow healthy, vibrant plants that can be shaped into a stunning landscape.
The Tank
While you can aquascape nano tanks, starting with something slightly larger gives you more room to experiment with design. A tank width of 48–61 cm, for example, offers good working space and is suited for lighting like the Aurora 48 LED.
Lighting
This is arguably the most critical piece of equipment for a planted tank. Low-quality lighting means weak, leggy plants and frustrating algae outbreaks. You need strong, full-spectrum light to support dense plant growth and good coloration.
- For a balanced starter setup, the Planted Starter Bundle, Light, Tools, Test Kit includes an Aurora 48 LED, suitable for tank widths of 48–61 cm. It's a solid entry point. The bundle also includes a 5-piece tool set and 8-in-1 test strips.
- If you're working with a smaller setup, a Clip-On Nano Grow Light is an affordable option. Its adjustable arm and clip-on mount make it versatile for nano tanks and emersed setups.
- For more serious aquascaping, investing in a light with higher specifications pays off. The Aurora Pro RGB, Bluetooth, IP68 offers full spectrum output, Bluetooth app control for RGB settings, and a high CRI of 90.6. This level of colour rendering makes your plants pop and supports stronger growth. Its IP68 water rating means it's sealed against water, which is a practical benefit.
CO2 Injection
To achieve those lush plant carpets and vibrant red plants seen in professional aquascapes, CO2 injection is essential. Without it, many desirable plants will struggle or simply refuse to grow densely.
- A convenient starting point is the CO2 Starter Kit - Regulator, Diffuser & Checker. This kit includes a dual-gauge regulator with a solenoid, an inline atomiser, and a glass drop checker with 4dKH solution. The solenoid allows you to connect it to a timer, turning CO2 off when your lights are off, saving gas. Remember, this kit requires a refillable CO2 cylinder, which is not included.
- For a more budget-friendly approach, especially for smaller tanks, consider a DIY CO2 Generator Kit, 2 L Stainless. This uses a chemical reaction to produce CO2. It's not as precise as a pressurized system, but it's a significant step up from no CO2 at all. This kit uses a 2 L stainless steel bottle and has a safety release above 30 kg.
- If you plan to assemble your own system, you can purchase components separately: a Dual-Gauge Regulator + Solenoid, an Inline Atomiser Diffuser - 16/22mm (made of 304 stainless steel with a replaceable ceramic disc), and a Glass Drop Checker + 4dKH Solution to monitor CO2 levels visually. A Bubble Counter + Check Valve Set is also useful for precisely counting bubbles and preventing water backflow.
Substrate
Forget plain gravel. Aquascapes demand a nutrient-rich substrate designed for plants. This "aquatic soil" provides essential nutrients to plant roots. You often layer it: a base layer of nutrient-rich soil, topped with a cap of inert sand or fine gravel to prevent the nutrient layer from clouding the water.
Aquascaping Tools
These are not optional. You need precision tools to plant delicate stems, prune overgrown bushes, and shape your aquascape without disturbing the layout or stressing your plants.
- A Aquascaping Tool Set - 5 Piece is an excellent starting point. This particular set includes 5 stainless steel pieces and comes with a storage bag.
- Specific tools are invaluable: Long-Reach Tweezers, 30 cm are essential for planting small stems and handling delicate plants without getting your hands soaked. Curved Spring Scissors, 25 cm, with their spring-loaded action, make precise trimming of foreground plants much easier than standard scissors.
- For maintenance, a Magnetic Glass Cleaner - Float is useful, returning to the surface if separated. A 5-in-1 Tank Cleaning Set with an extending handle and multiple interchangeable heads helps with general cleaning without disturbing your scape.
Filtration and Heating
Standard aquarium equipment is still needed. A good filter keeps your water clear and healthy for plants and potential inhabitants. A heater maintains a stable temperature, crucial for most tropical plants and fish.
The Aquascaping Setup Process
With your design planned and equipment ready, it's time to build your aquascape.
1. Prepare Your Tank
Thoroughly clean your empty aquarium. Rinse it well with water. Do not use soap or detergents, as residues can harm your future livestock and plants.
2. Lay the Substrate
If using a layered substrate system, start by placing your nutrient-rich aquatic soil. Then, carefully add your cap layer of inert sand or gravel. This is where you implement the slopes and contours from your sketch. Use hardscape elements like rocks or plastic dividers to prevent substrate from mixing or sliding down slopes.
3. Place the Hardscape
Following your design, carefully position your rocks and driftwood. This is a critical step; once plants are in, it's difficult to move heavy hardscape without major disruption. Secure larger pieces if necessary to prevent them from shifting or falling, especially if you have an uneven substrate base.
4. Partially Fill with Water
Add just enough water to barely cover the substrate. Use a plate or a plastic bag to break the stream and prevent disturbing your carefully laid substrate and hardscape. The shallow water makes planting much easier.
5. Plant Your Aquascape
This is where your aquascaping tools shine. Use your long-reach tweezers to carefully plant individual stems and root plants. Plant densely from the start. This helps prevent algae by outcompeting it for nutrients. Work from the background forward, or from the most delicate plants outwards, depending on your comfort. Many plants come in rockwool; remove as much as you can without damaging the roots.
6. Final Fill and Equipment
Once all plants are in, slowly fill the rest of the tank with water, again using a plate or plastic to diffuse the flow. Install your filter, heater, and lighting. Set your CO2 system if you have one. If you have a CO2 starter kit with a regulator and solenoid, remember to connect it. Adjust your lighting timers.
Plant Selection and Initial Care
Choosing the right plants is key to a successful aquascape. Consider their mature size, light requirements, and growth rate. Group plants by foreground, midground, and background.
Plant Types to Consider
- Foreground Plants: Often low-growing "carpets" that create a lush lawn effect. Many require high light and CO2 to thrive.
- Midground Plants: Medium height, often bushy plants or epiphytes attached to wood or rock.
- Background Plants: Taller, fast-growing stem plants that create a backdrop and depth.
When starting, don't overcomplicate your plant selection. Choose a few robust species that suit your light and CO2 levels. Many stem plants are forgiving and grow quickly, which helps establish the tank's biology.
The Cycling Process
Like any new aquarium, your aquascape needs to go through a nitrogen cycle before adding fish. This establishes beneficial bacteria that convert toxic ammonia and nitrite into less harmful nitrate. A fishless cycle is recommended; it takes several weeks.
The Planted Starter Bundle, Light, Tools, Test Kit includes 8-in-1 test strips, which are useful for monitoring basic water parameters during this crucial cycling phase.
Initial Maintenance and Algae Control
The first few weeks are critical. Your plants are adapting, and the tank is finding its balance. Algae will likely appear; do not panic. It's a natural part of a new tank.
- Water Changes: Perform large water changes (50% or more) frequently, every few days for the first few weeks, then weekly. This removes excess nutrients and keeps the water pristine, helping plants establish and reducing algae.
- CO2 and Light: Monitor your CO2 levels with a glass drop checker and adjust as needed. Start with a moderate lighting duration, perhaps six to eight hours a day, and gradually increase as your plants grow stronger.
- Nutrient Dosing: Once plants are established and growing, you will need to dose liquid fertilizers to provide macro and micronutrients not supplied by the substrate.
- Pruning: Regular pruning is essential to maintain the shape of your aquascape and encourage bushier growth. Use your curved spring scissors for precision.
Aquascaping is a journey of learning and patience. Expect challenges, but enjoy the process of creating a beautiful, living piece of art.
Quick answers
- What's the minimum tank size for aquascaping?
- While you can aquascape nano tanks, a tank width of 48–61 cm (like those suited for the Aurora 48 LED) offers more room for intricate design and plant choices. Smaller tanks demand more precise planning and maintenance.
- Do I need CO2 for aquascaping?
- For lush, vibrant aquascapes with dense plant carpets or demanding red plants, CO2 injection is essential. You can begin with a simpler DIY chemical CO2 generator kit, or invest in a full CO2 starter kit with a regulator and diffuser for superior control and consistent growth.
- What's the most important piece of equipment for aquascaping?
- Good lighting is non-negotiable. Plants require intense, full-spectrum light to grow densely and display strong colors. A light with a colour rendering index (CRI) of 90.6 or higher, like the Aurora Pro RGB, provides excellent colour rendition and supports robust plant growth.
- How do I prevent algae when aquascaping?
- Algae is a common challenge. The best prevention involves maintaining a balance between light intensity and duration, CO2 levels, and nutrient dosing. Consistent water changes also help. Algae growth usually signals an imbalance in your tank's ecosystem.