Planted Tank Substrate Layers: Yes or No?
9 min read · 2026-11-05
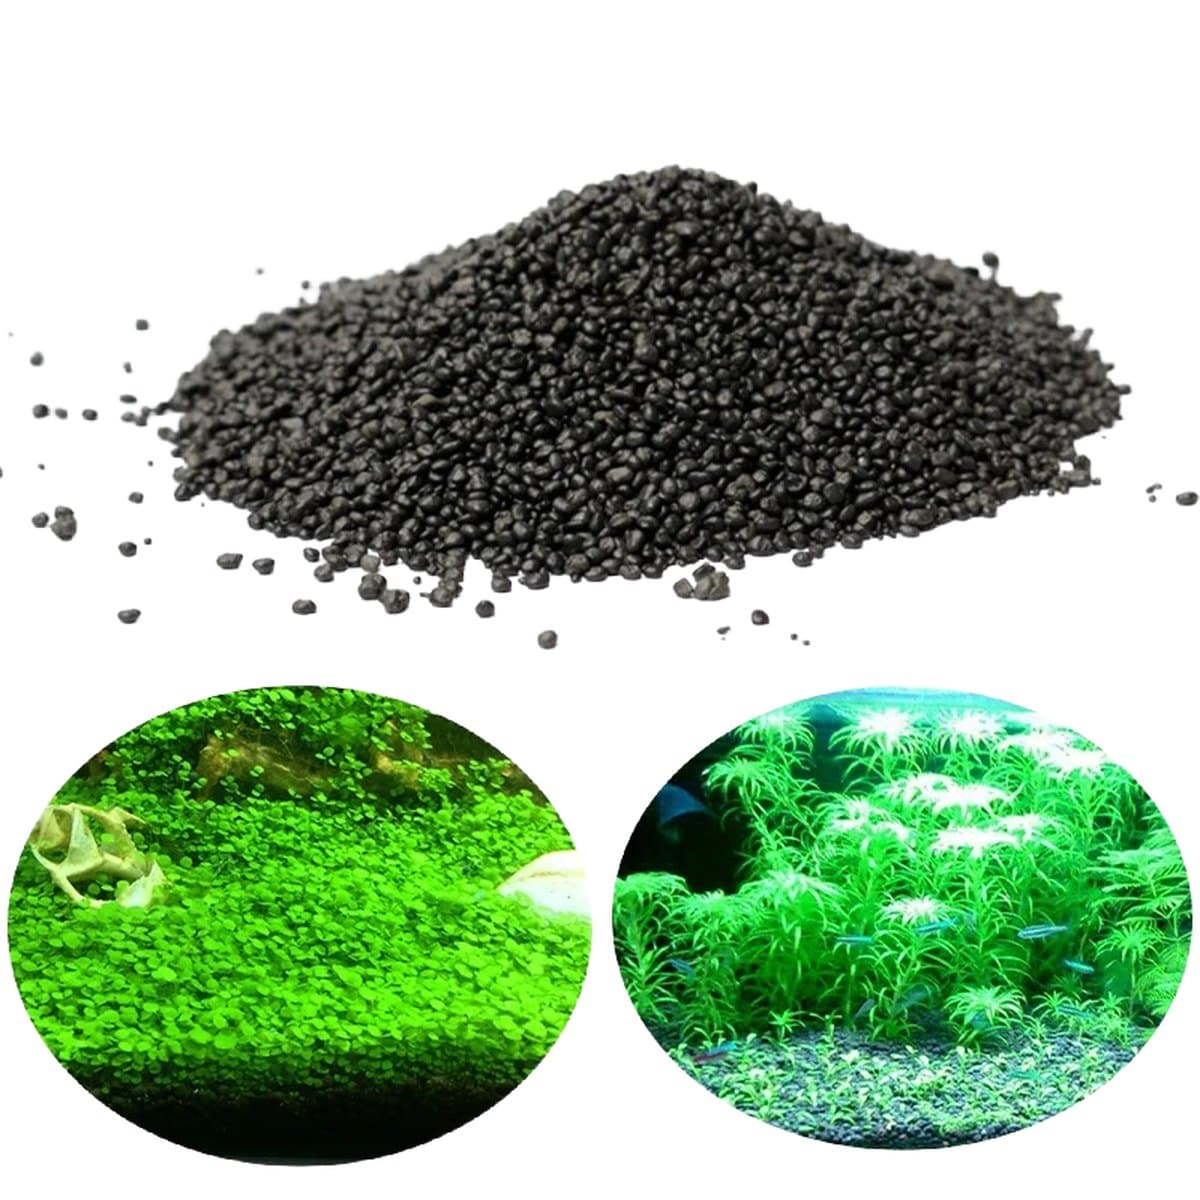
The gear this guide is about
Aqua Soil — Planted Tank Substrate
$28
You don't always need substrate layers in a planted tank.
Many hobbyists, especially beginners, overcomplicate substrate. The idea of multiple layers seems fancy, but it's often optional. For most planted tanks, a single, high-quality, all-in-one substrate is enough. You layer substrate to provide a nutrient-rich base for plants and then cap it with an inert material for aesthetics and to prevent nutrient leaching.
If you're keeping demanding plants that are heavy root feeders, or you want to reduce the need for liquid fertilisers, then layering can be beneficial. Otherwise, keep it simple.
What are substrate layers, anyway?
When people talk about substrate layers, they usually mean two distinct parts:
- The nutrient layer: This is the bottom layer. It's rich in organic matter and essential minerals that plants absorb through their roots. Think of it as a slow-release fertiliser for your plants.
- The inert cap: This goes on top of the nutrient layer. It's usually sand or fine gravel. Its job is to hold the nutrient layer down, prevent it from clouding the water, and provide a clean-looking surface. It also keeps fish from digging up the nutrient-rich material.
The goal is to provide a long-term food source for your plants right where they need it, while maintaining clear water and a tidy tank.
What materials go into each layer?
The Nutrient Layer: Planted Tank Substrates
For the bottom layer, you need something packed with nutrients. This is where dedicated planted tank substrates shine. Products like Aqua Soil, Planted Tank Substrate are popular for a reason. They are designed for aquariums, so they won't mess up your water parameters or release unwanted chemicals.
- Aqua Soil: This is a baked clay granular substrate. It's rich in humic acids and nutrients, buffers pH, and provides an excellent environment for beneficial bacteria. It starts around 27.95 USD for a bag. It's a solid choice for almost any planted tank.
- Other commercial nutrient substrates: There are many brands of "aquarium soil" or "planted substrate." Most are similar to Aqua Soil in function, clay-based, porous, and nutrient-rich.
- DIY options (use with caution): Some hobbyists use screened garden soil or potting soil mixed with laterite or other additives. This is cheap but risky. You can introduce pesticides, excess organic matter that fouls the water, or trigger massive ammonia spikes. If you go this route, research heavily and be prepared for a long, messy cycling process. For beginners, stick to commercial products.
A good nutrient substrate provides a stable base for root growth and a steady supply of nutrients, reducing the need for constant liquid fertilising. It also creates a hospitable environment for beneficial bacteria, which is crucial for a healthy ecosystem.
The Cap Layer: Sand or Fine Gravel
The cap layer is simpler. Its main job is to cover the nutrient layer. It should be inert, meaning it won't affect water chemistry, and fine enough to prevent the nutrient layer from rising through it.
- Aquarium Sand: Fine sand is a classic choice. It looks clean, is easy to plant in (with the right tools), and effectively caps the nutrient layer. Black sand, white sand, or natural river sand are common options. Just make sure it's aquarium-safe and rinse it thoroughly before use.
- Fine Gravel: Small, smooth gravel (around 1-3 mm) also works well. It's easier to clean than sand and allows a bit more water circulation into the nutrient layer. Avoid sharp or large gravel, as it can be difficult for plants to root in and might scratch fish.
- Crushed Coral or other buffering sands: Avoid these for planted tanks, especially if you want soft water. They will raise pH and hardness, which many aquatic plants dislike. Stick to truly inert materials.
The cap layer doesn't need to be nutrient-rich itself. Its primary roles are aesthetic and functional, keeping the nutrient layer in place and preventing cloudiness.
How thick should your substrate layers be?
There's no magic number here, as tank size and plant choices vary. However, some general guidelines apply:
- Nutrient layer: Aim for a layer thick enough to provide a good rooting depth for your plants. For most tanks, a base layer of several centimeters is sufficient. If you plan on very large, heavily rooted plants, you might go thicker. Don't go too thin, or the benefits will be minimal.
- Cap layer: The cap needs to be thick enough to cover the nutrient layer completely and prevent it from mixing with the water column. A few centimeters is usually plenty. If it's too thin, the nutrient layer will eventually poke through. If it's too thick, plant roots might struggle to reach the nutrient base, and waste can build up in the cap.
Consider the total depth. A substrate that is too deep (say, 10 cm or more in a small tank) can create anaerobic pockets, which are bad news for roots and can release toxic gases. Aim for a total substrate depth that provides good rooting without becoming a stagnant zone.
When shaping, consider sloping the substrate. A thicker layer at the back and sides, tapering down towards the front, creates depth and makes the tank look larger. This is where tools from an Aquascaping Tool Set - 5 Piece come in handy for precise shaping.
Pros and cons of layering substrate
Pros:
- Targeted Nutrition: Heavy root feeders get a direct, long-term food source. This can lead to faster, healthier growth.
- Reduced Liquid Fertiliser: With a rich nutrient base, you may not need to dose liquid fertilisers as frequently, especially for macro-nutrients.
- Aesthetics: You can choose a beautiful, clean-looking sand or fine gravel cap without giving up the benefits of a rich substrate.
- Stability: A good substrate setup contributes to a stable environment for beneficial bacteria, crucial for tank health.
Cons:
- Initial Cost: Nutrient-rich substrates can be expensive. For example, Aqua Soil, Planted Tank Substrate costs 27.95 USD per bag. Buying two types of substrate (nutrient and cap) means a higher upfront cost than just using one type.
- Messy Setup: Layering can be tricky. If you don't cap carefully or if you disturb the layers during planting or maintenance, the nutrient layer can mix with the water, causing cloudiness.
- Maintenance Challenges: If the layers mix, you lose some of the benefits. Re-scaping or moving plants can be more disruptive. Vacuuming the substrate can also be harder without disturbing the layers.
- Anaerobic Pockets: Too deep or compacted layers can create zones without oxygen, which can harm roots and release toxic compounds.
For a simpler setup, consider an all-in-one substrate like Aqua Soil, or even just inert sand/gravel combined with root tabs and liquid fertilisers. The "all-in-one" approach is often less headache for similar results.
Alternatives to layering: Simpler ways to feed plants
Layering isn't the only path to lush plant growth. Many successful planted tanks use simpler substrate strategies.
All-in-One Substrates
Many commercial substrates, including Aqua Soil, Planted Tank Substrate, are designed to be used as a single layer. They provide nutrients, buffer water, and offer a good texture for roots. This eliminates the need for a separate cap. Just dump it in, spread it, and plant. It's cleaner and simpler.
Root Tabs and Liquid Fertilisers
If you prefer the look of plain sand or gravel (which can be very inexpensive), you can still grow plants. The trick is to provide nutrients externally:
- Root Tabs: These are capsules or tablets packed with nutrients that you push into the substrate near the base of your plants. They slowly release fertilisers, feeding root feeders directly. This is an effective way to supplement an inert substrate.
- Liquid Fertilisers: Dosed into the water column, these feed plants through their leaves. Most plants absorb nutrients this way, and liquid fertilisers are essential even with a nutrient-rich substrate. Combine them with root tabs for a comprehensive feeding strategy.
This approach gives you maximum flexibility with your substrate aesthetics and can be more budget-friendly initially, though you'll have ongoing costs for tabs and liquids.
Setting up substrate layers: The right way
If you decide to go with layers, here's how to do it without turning your tank into a cloudy mess:
- Clean the tank: Ensure your aquarium is clean and dry.
- Prepare the nutrient layer: Most commercial nutrient substrates do not need rinsing. Rinsing can wash away valuable nutrients. Check the product instructions. If you're using a DIY soil mix, make sure it's pre-soaked and free of large debris.
- Add the nutrient layer: Carefully add the nutrient substrate to the bottom of the tank. Use your hands or a scoop to spread it evenly. Aim for the desired thickness, remembering to slope it if you want. A tool like Long-Reach Tweezers, 30 cm can help with spreading and fine-tuning.
- Add a barrier (optional but recommended): Some hobbyists place a fine mesh or a layer of filter floss over the nutrient layer before adding the cap. This acts as an extra barrier to prevent mixing.
- Prepare the cap layer: Rinse your sand or fine gravel thoroughly. Place it in a bucket and run water through it, stirring it well, until the water runs clear. This removes dust and fine particles that would otherwise cloud your tank.
- Add the cap layer: This is the most crucial step. Place a plastic bag, a plate, or even your hand flat on top of the nutrient layer. Slowly pour the rinsed cap material onto this surface. This diffuses the impact and prevents the cap from digging into the nutrient layer below. Spread it gently until the nutrient layer is completely covered to your desired cap thickness.
- Mist lightly: Once both layers are in place, mist the substrate with water to keep it damp. This helps settle it and makes planting easier.
- Planting: Use Aquascaping Tool Set - 5 Piece tools like tweezers to carefully insert plants, disturbing the substrate as little as possible.
- Slow fill: Place a plate or plastic bag on the substrate and slowly pour in water. This prevents the incoming water from blasting holes in your carefully laid layers. Fill the tank gradually.
Be patient during setup. Rushing will lead to cloudiness and frustration.
Common mistakes to avoid with layered substrates
Even experienced hobbyists mess this up sometimes. Learn from their pain:
- Not rinsing the cap: This is the number one cause of cloudy water that won't settle for days. Rinse, rinse, rinse your sand or gravel.
- Adding water too fast: A powerful stream of water will dig trenches in your substrate layers and mix everything up. Always diffuse the water flow during filling.
- Too thick nutrient layer: Overly thick nutrient layers, especially in small tanks, can lead to anaerobic zones, which produce harmful gases like hydrogen sulfide.
- Too thick cap layer: If your cap is too deep, plant roots might struggle to reach the nutrient layer, defeating the purpose of layering. Also, detritus can accumulate in a deep, inert cap, leading to nutrient sinks.
- Disturbing the layers: During planting, maintenance, or fish additions, try to avoid disturbing the substrate layers. If you need to move a plant, do it carefully.
- Using non-aquarium safe materials: Garden soil, play sand, or construction gravel can contain chemicals, metals, or organic matter that will harm your fish and plants. Stick to products designed for aquariums.
Layering substrate can work well, but it demands attention to detail. If you want a simpler life, a good all-in-one substrate or an inert substrate with root tabs is often the better call.
Quick answers
- Is a nutrient layer essential for planted tanks?
- No, not always. Many plants thrive with just a good all-in-one substrate like Aqua Soil, or even inert sand/gravel combined with root tabs and liquid fertilisers.
- How thick should a substrate cap be?
- A cap of about a few centimeters is generally enough to prevent the nutrient layer from clouding the water. Too thick, and plant roots might struggle to reach the nutrients below.
- Can I use garden soil as a nutrient layer?
- Some hobbyists experiment with soil mixes, but commercially prepared aquarium substrates are safer and less likely to cause nutrient imbalances or ammonia spikes in a new tank.
- What are the main benefits of layering substrates?
- Layering allows you to provide a rich nutrient base for heavy root feeders while capping it with an inert material that looks good, prevents clouding, and keeps nutrients locked down.